Configure ID and generate QR code
Contents
Configure ID and generate QR code#
Introduction#
In this Tutorial you will learn how to configure the ID of a registrant and how to print its QR code.
Prerequisites#
To configure ID and generate QR code, you need to:
Have existing individual records in your registry, either by creating records manually or importing records into OpenSPP.
Have an access role as an Operations Admin or Administrator. Learn more about this in the guide Administrating role-based access
Make sure that the module OpenSPP POS: ID Redemption is installed and activated.
Objective#
By the end of this tutorial you will be able to configure ID types, manage IDs of Individuals and Groups, generate QR code of the IDs and be able to print it.
Process#
Configure ID type#
To be able to create IDs, you must first configure the ID types. Login to OpenSPP as administrator, click on the square tile icon beside Registry, then click on Registry from the menu.

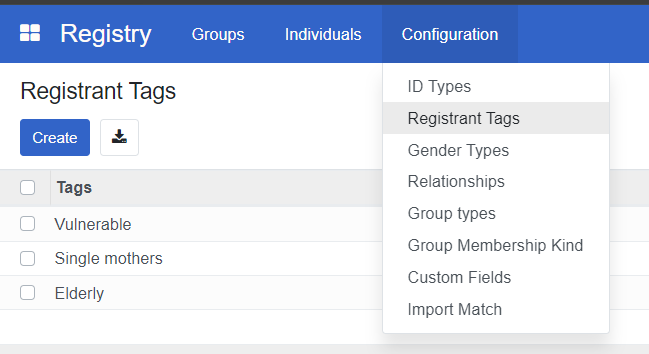
Click the button Configuration in the top menu bar and select ID Type.
This will display the table view of all existing IDs where you can either View, Create, Edit or Delete IDs.
Create ID type#
To create a new ID type, click on New.
Name - (Required) The name of the ID type
Target Type - (Required) Define whether this ID is used for individuals or groups only, or both.
ID Type Validation - (Optional) Define a required prefix for the ID. For example, if inputting ‘022’ , then all IDs must start with 022, otherwise an error message will appear.
Edit ID type#
To Edit an existing ID Type, redirect back to ID type table view by clicking Configuration and selecting ID types. Click on the field you wish to modify and click Save to apply the changes.

Delete ID type#
To delete an ID type, select the ID type by clicking the checkbox and click on the Actions button. Click on Delete. Note that an ID type can only be removed if it is not in use.

Manage ID of a Group or Individual#
Once the ID types are successfully configured you can add it to an Individual or Group by going to the Registry. Navigate to the desired Individual/Group and click on the ID tab.
ID type - Displays the type of ID.
ID Number - Displays the value of the ID
Expiry Date - Indicates when the ID will expire
Status - Indicates if the ID is valid or invalid
Description - Description of the ID.
Add ID#
To add an ID, click on Add a line under the ID tab and select the type of ID you desire to add.
Alternatively, you can also add an ID by import to update an already existing individual or group along with its new ID details, Read Import registrant data to learn more. You would need the following column headers for the ID data.
reg_ids/id_type - ID pass, UMID etc.. make sure that the id type you will import is already defined in OpenSPP.
reg_ids/status - Valid or Invalid.
reg_ids/value - 11223412394, etc..
Edit ID#
To edit an ID, click on the field to edit it. Once done click the Save icon beside the Gear icon. You may also click on the Counterclockwise arrow icon to undo any changes.

Delete ID#
To delete an ID, click on the trashbin icon that corresponds to the ID you wish to delete.

Generate QR code#
To generate QR code, make sure OpenSPP POS: ID Redemption is installed and activated on your OpenSPP instance. When installed, you should be able to see a green printer button beside the ID values from the ID tab of a Group or Individual.
Once you click the green printer button, a download of a pdf will automatically start which contains the ID information and QR code.