Geotargeting
Contents
Geotargeting#
Introduction#
Use geotargeting to increase accuracy and effectiveness in social protection program enrollment. Geotargeting identifies potential beneficiaries' locations, letting program administrators accurately target outreach efforts, deliver benefits to those in need, and reduce fraud and leakage risks.
OpenSPP's built-in geotargeting capabilities allow program administrators to locate potential beneficiaries based on location and streamline the enrollment process, ensuring eligible individuals get necessary benefits.
This tutorial guides users through using geotargeting in OpenSPP for social protection program enrollment. It covers setting up data fields and parameters, running geotargeting analysis, and generating reports. By the end, users will understand how geotargeting can be configured, and how to apply OpenSPP's geotargeting features to achieve these goals.
Area#
To make use of geotargeting in OpenSPP, you must first define a geographic area tree. Oftentimes, you will have different levels such as:
country
state
province
district
city
or any other geographic area that you want to target.
OpenSPP allows you to define any number of levels and to define the hierarchy between them. For example, you can define a country, then define states within that country, and then define districts within each state. You can also define a hierarchy between districts and cities, or between cities and villages.
Installation#
Make sure you have installed the OpenSPP Area App in your OpenSPP installation.
Area type#
You can define different area type, that can be useful later when defining a form, so you can enforce the user to select a specific area type.
Import#
OpenSPP support the import of area from an excel file as defined by The Humanitarian Data Exchange. They offer data for most countries in the world. You can use their spreadsheet as a starting point to define your area tree.
Download the excel file from The Humanitarian Data Exchange - Search and save it in your computer. For example, we will use the Sudan - Subnational Administrative Boundaries xlsx file.
Open the Area → Areas → Area Import menu.
Click Upload your file and select the file you just downloaded.
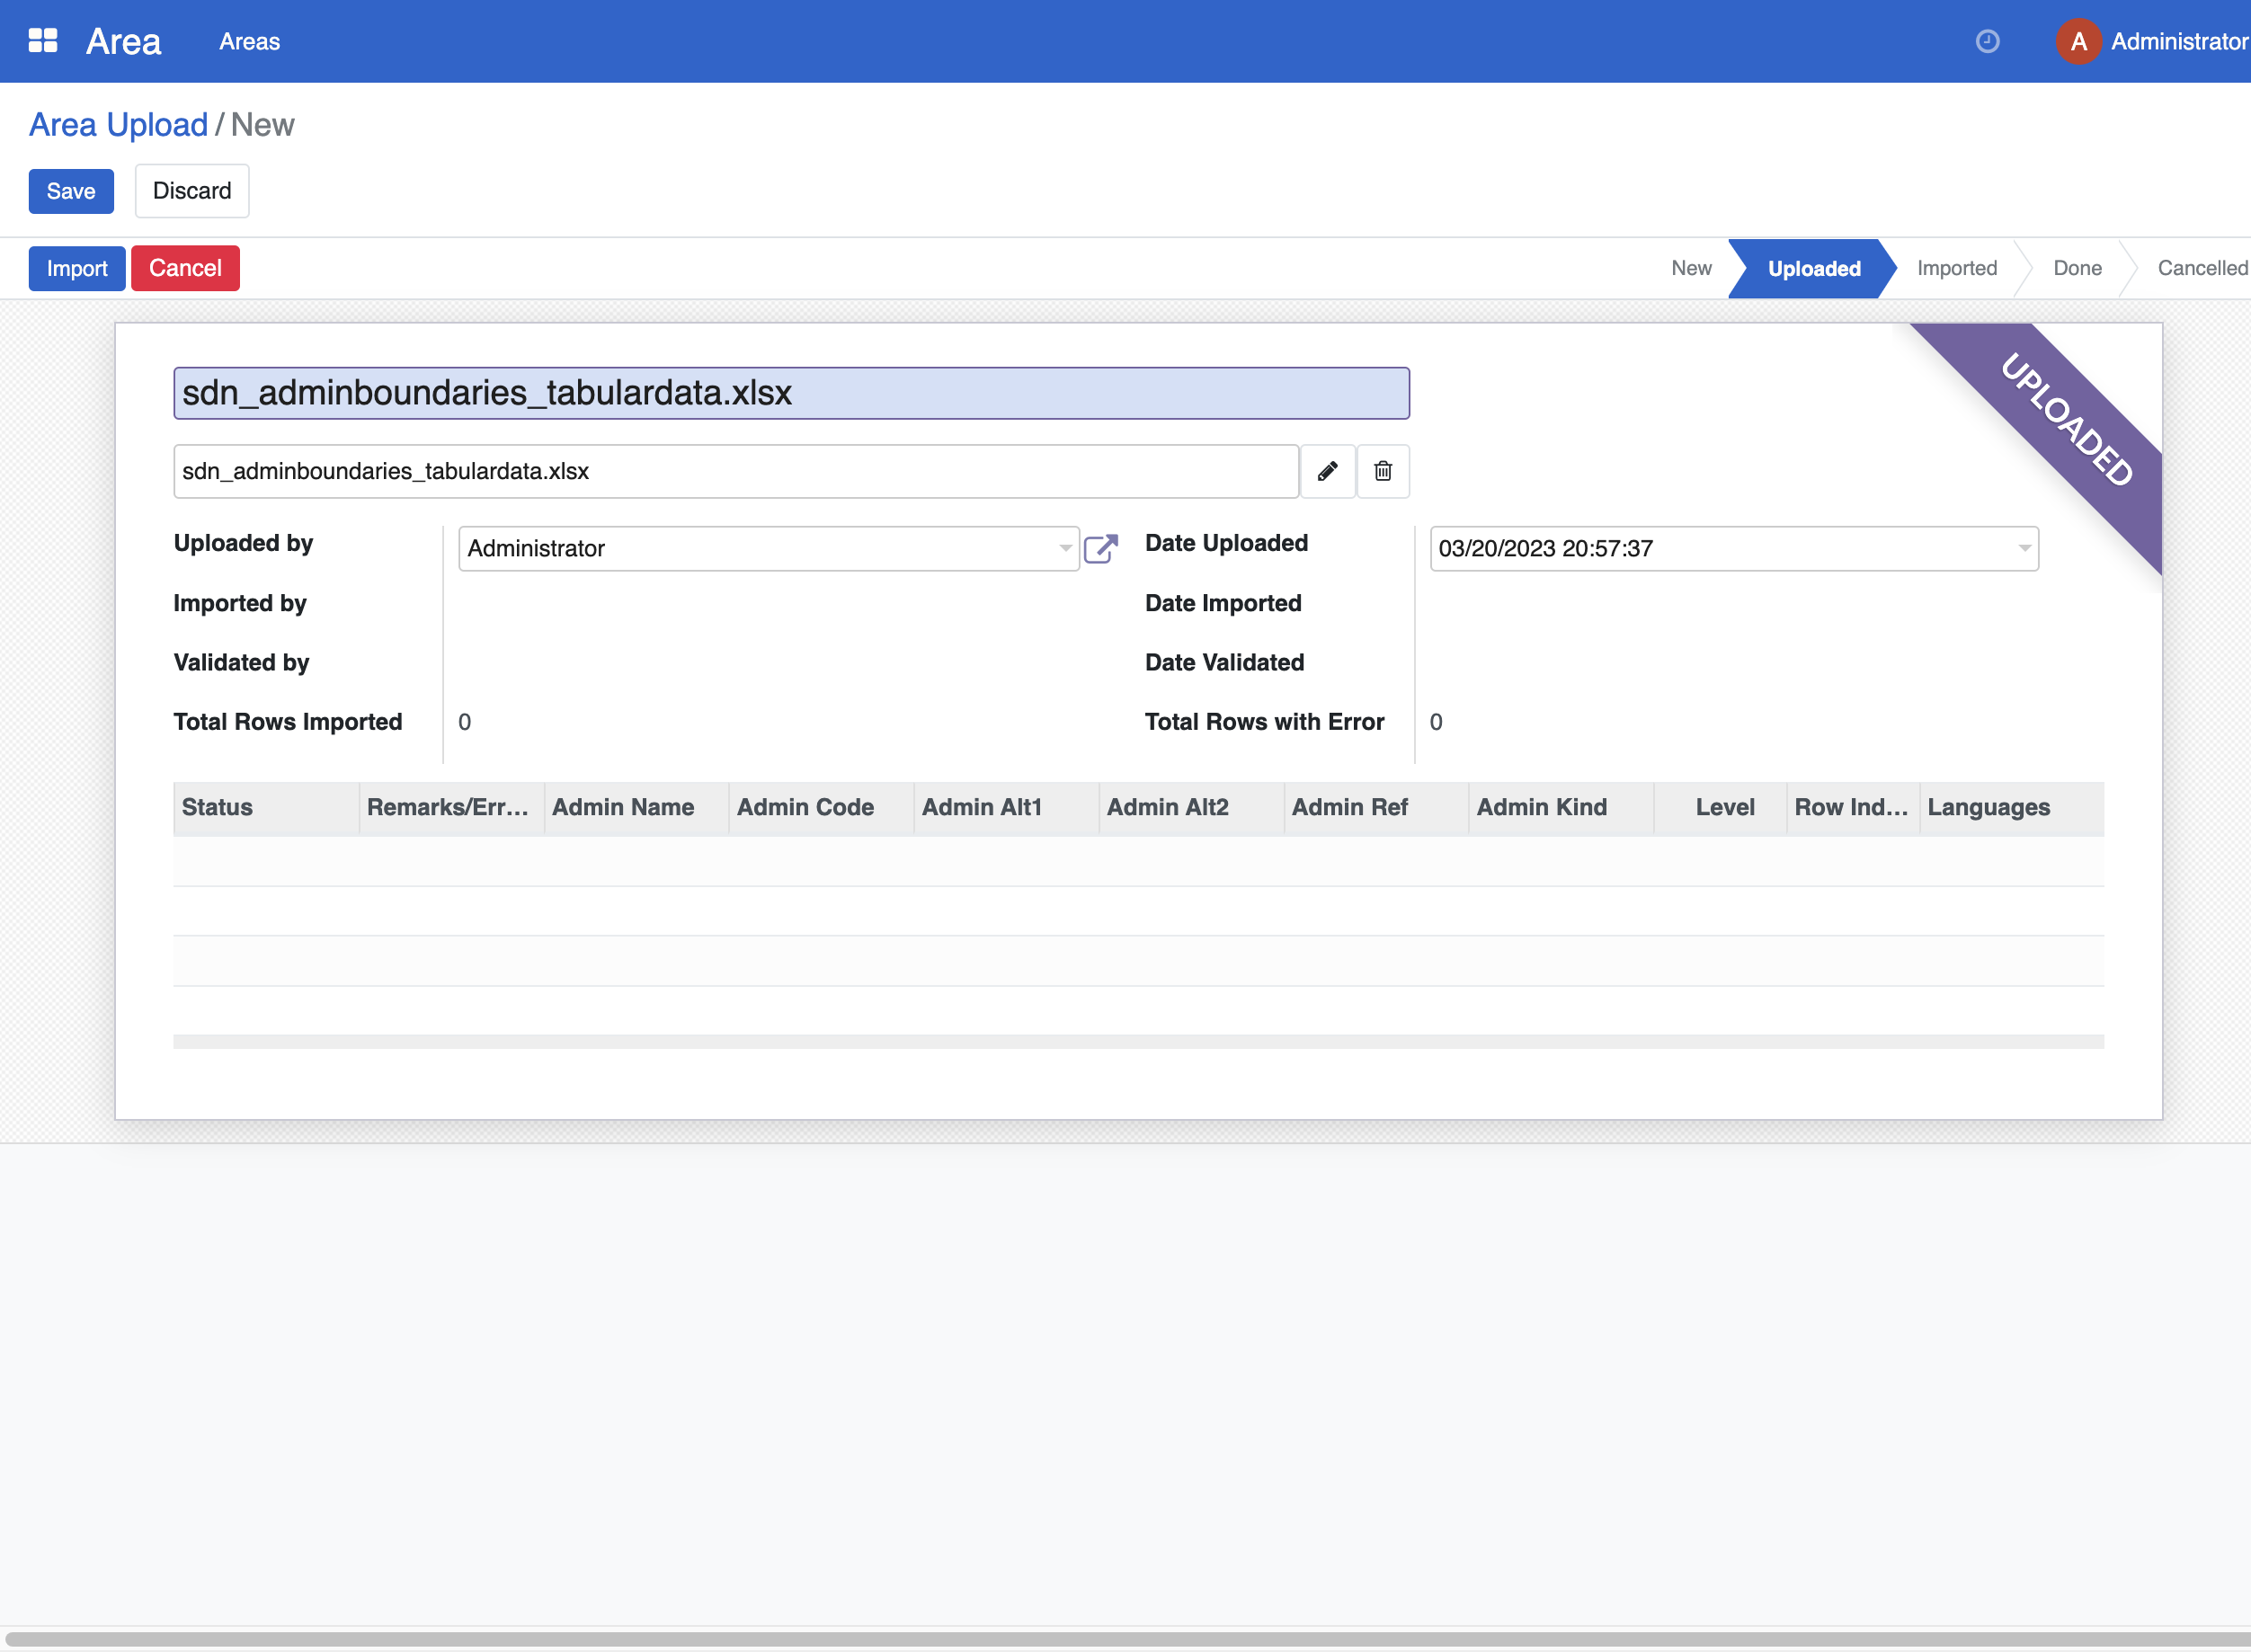
Click Import. You will preview what will be imported.
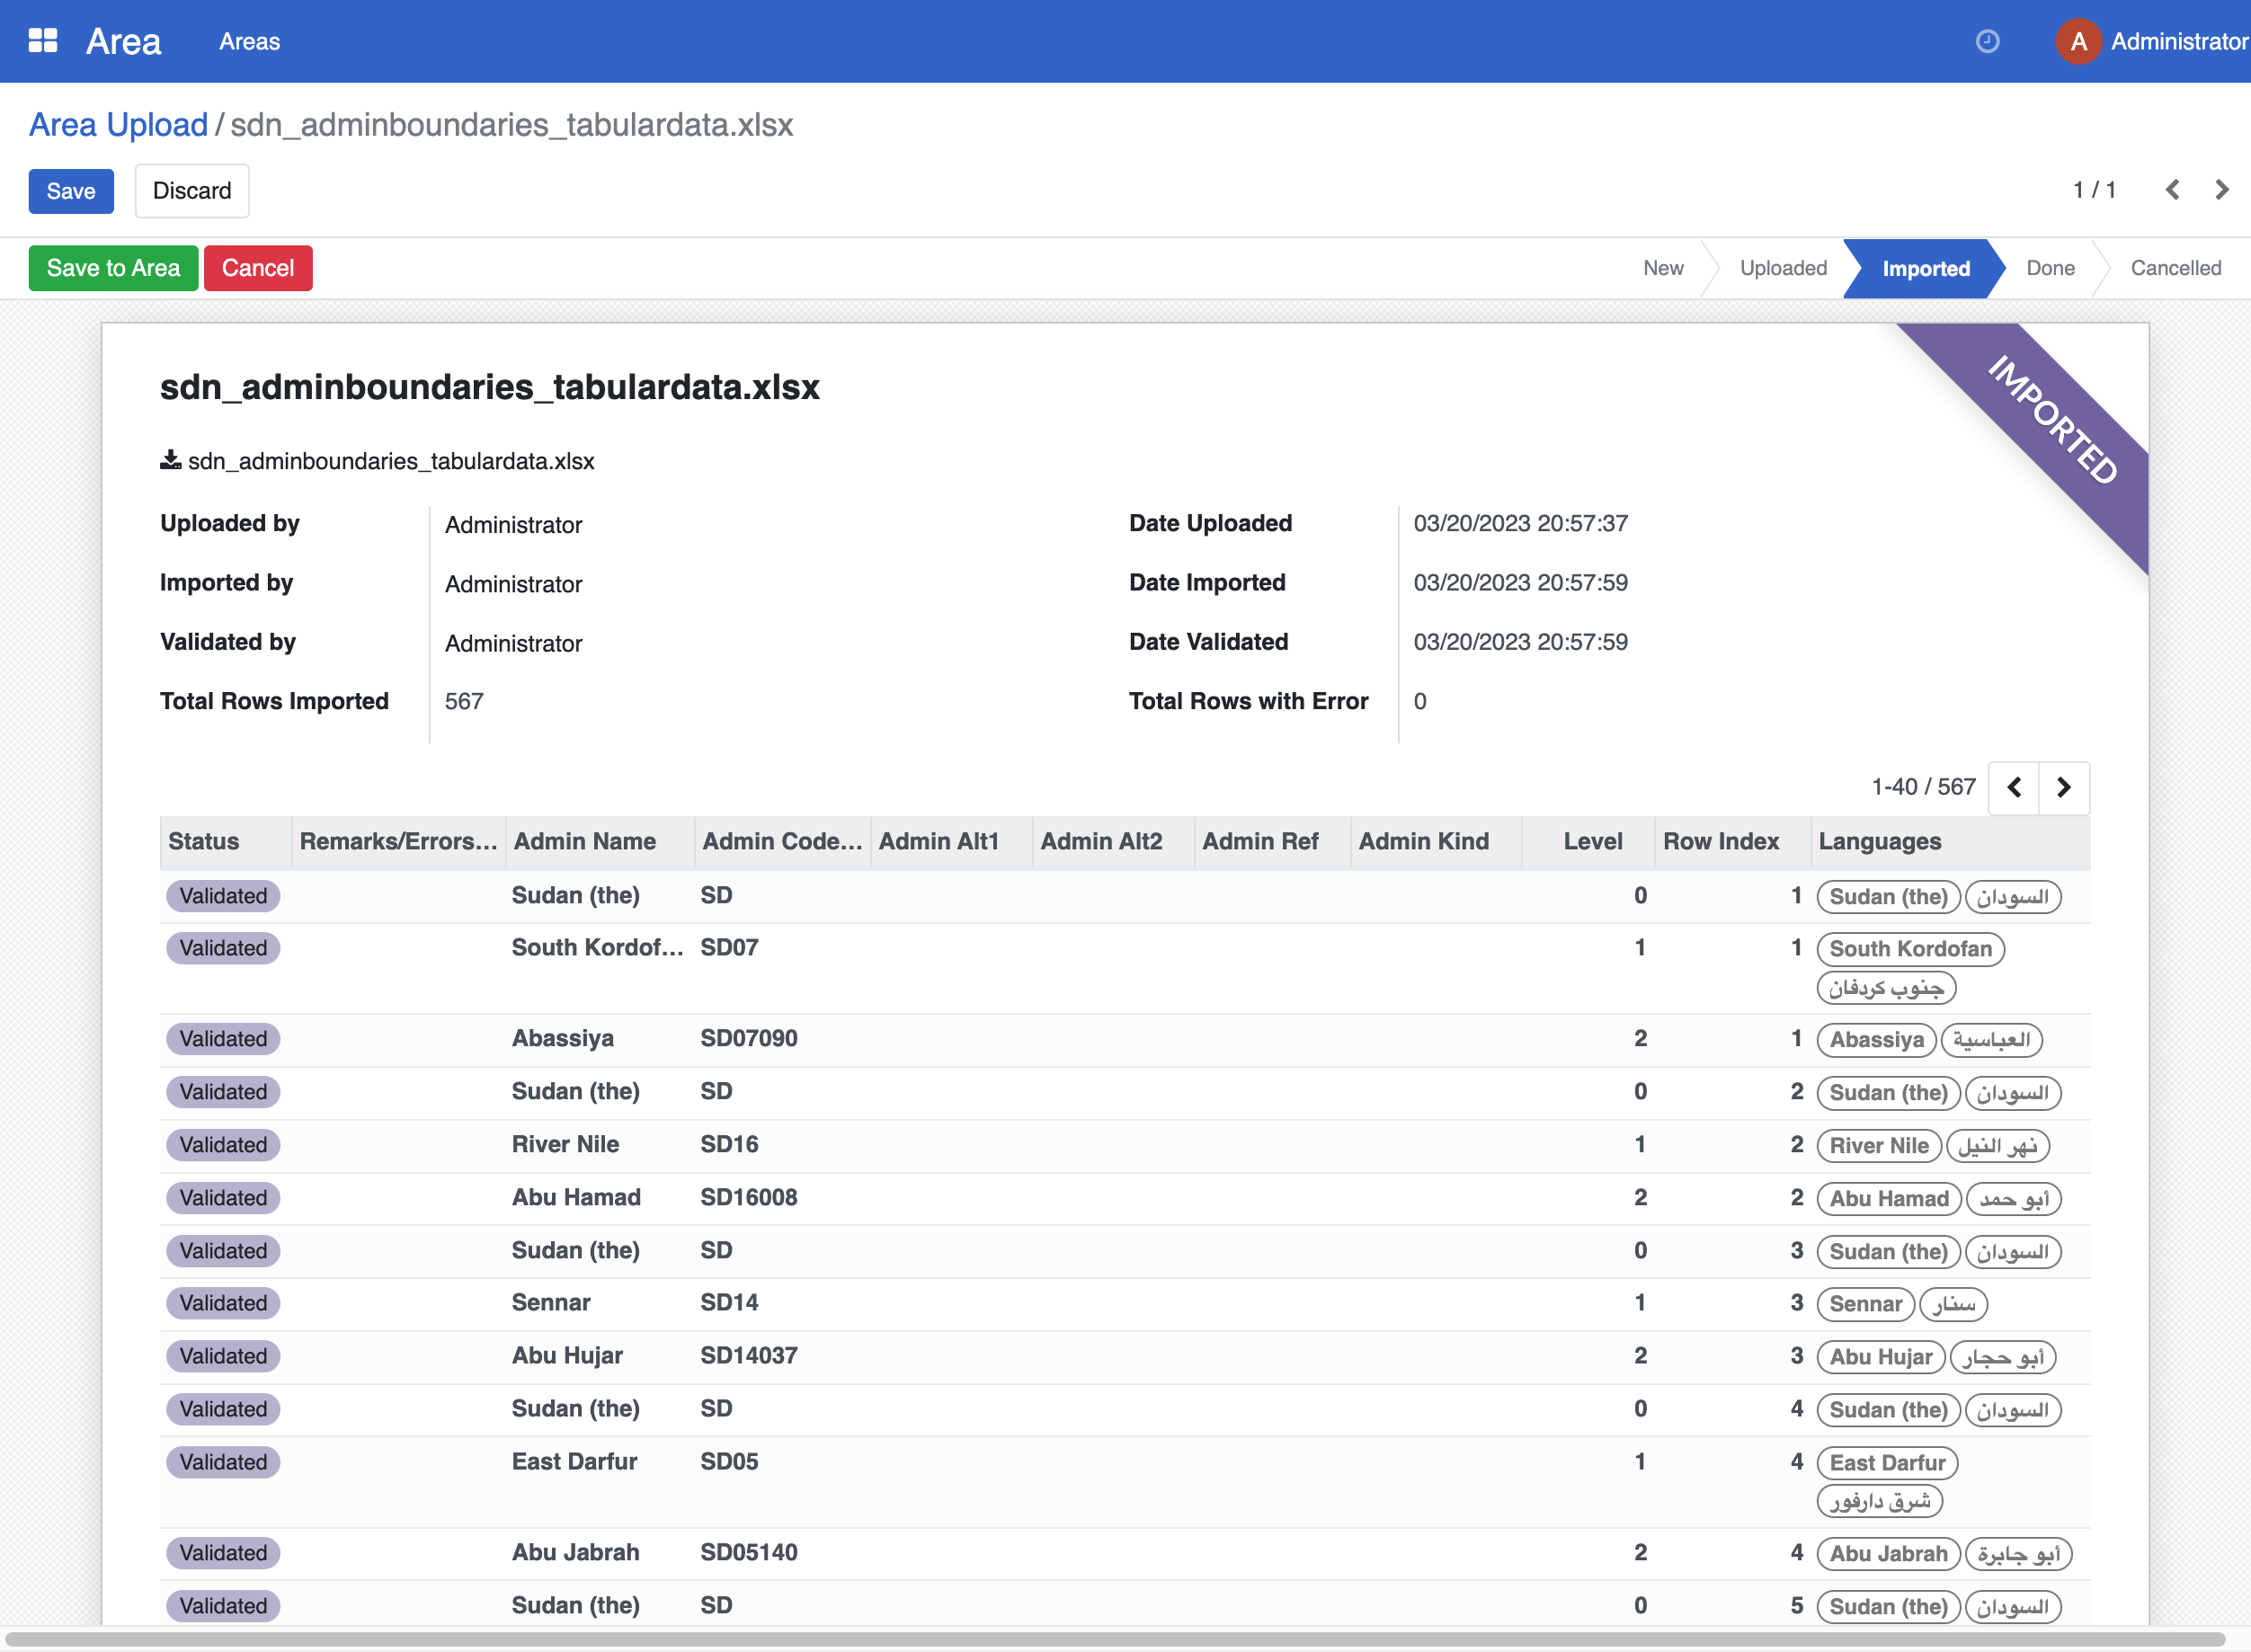
Click Save to Area. That will save the data to the database.

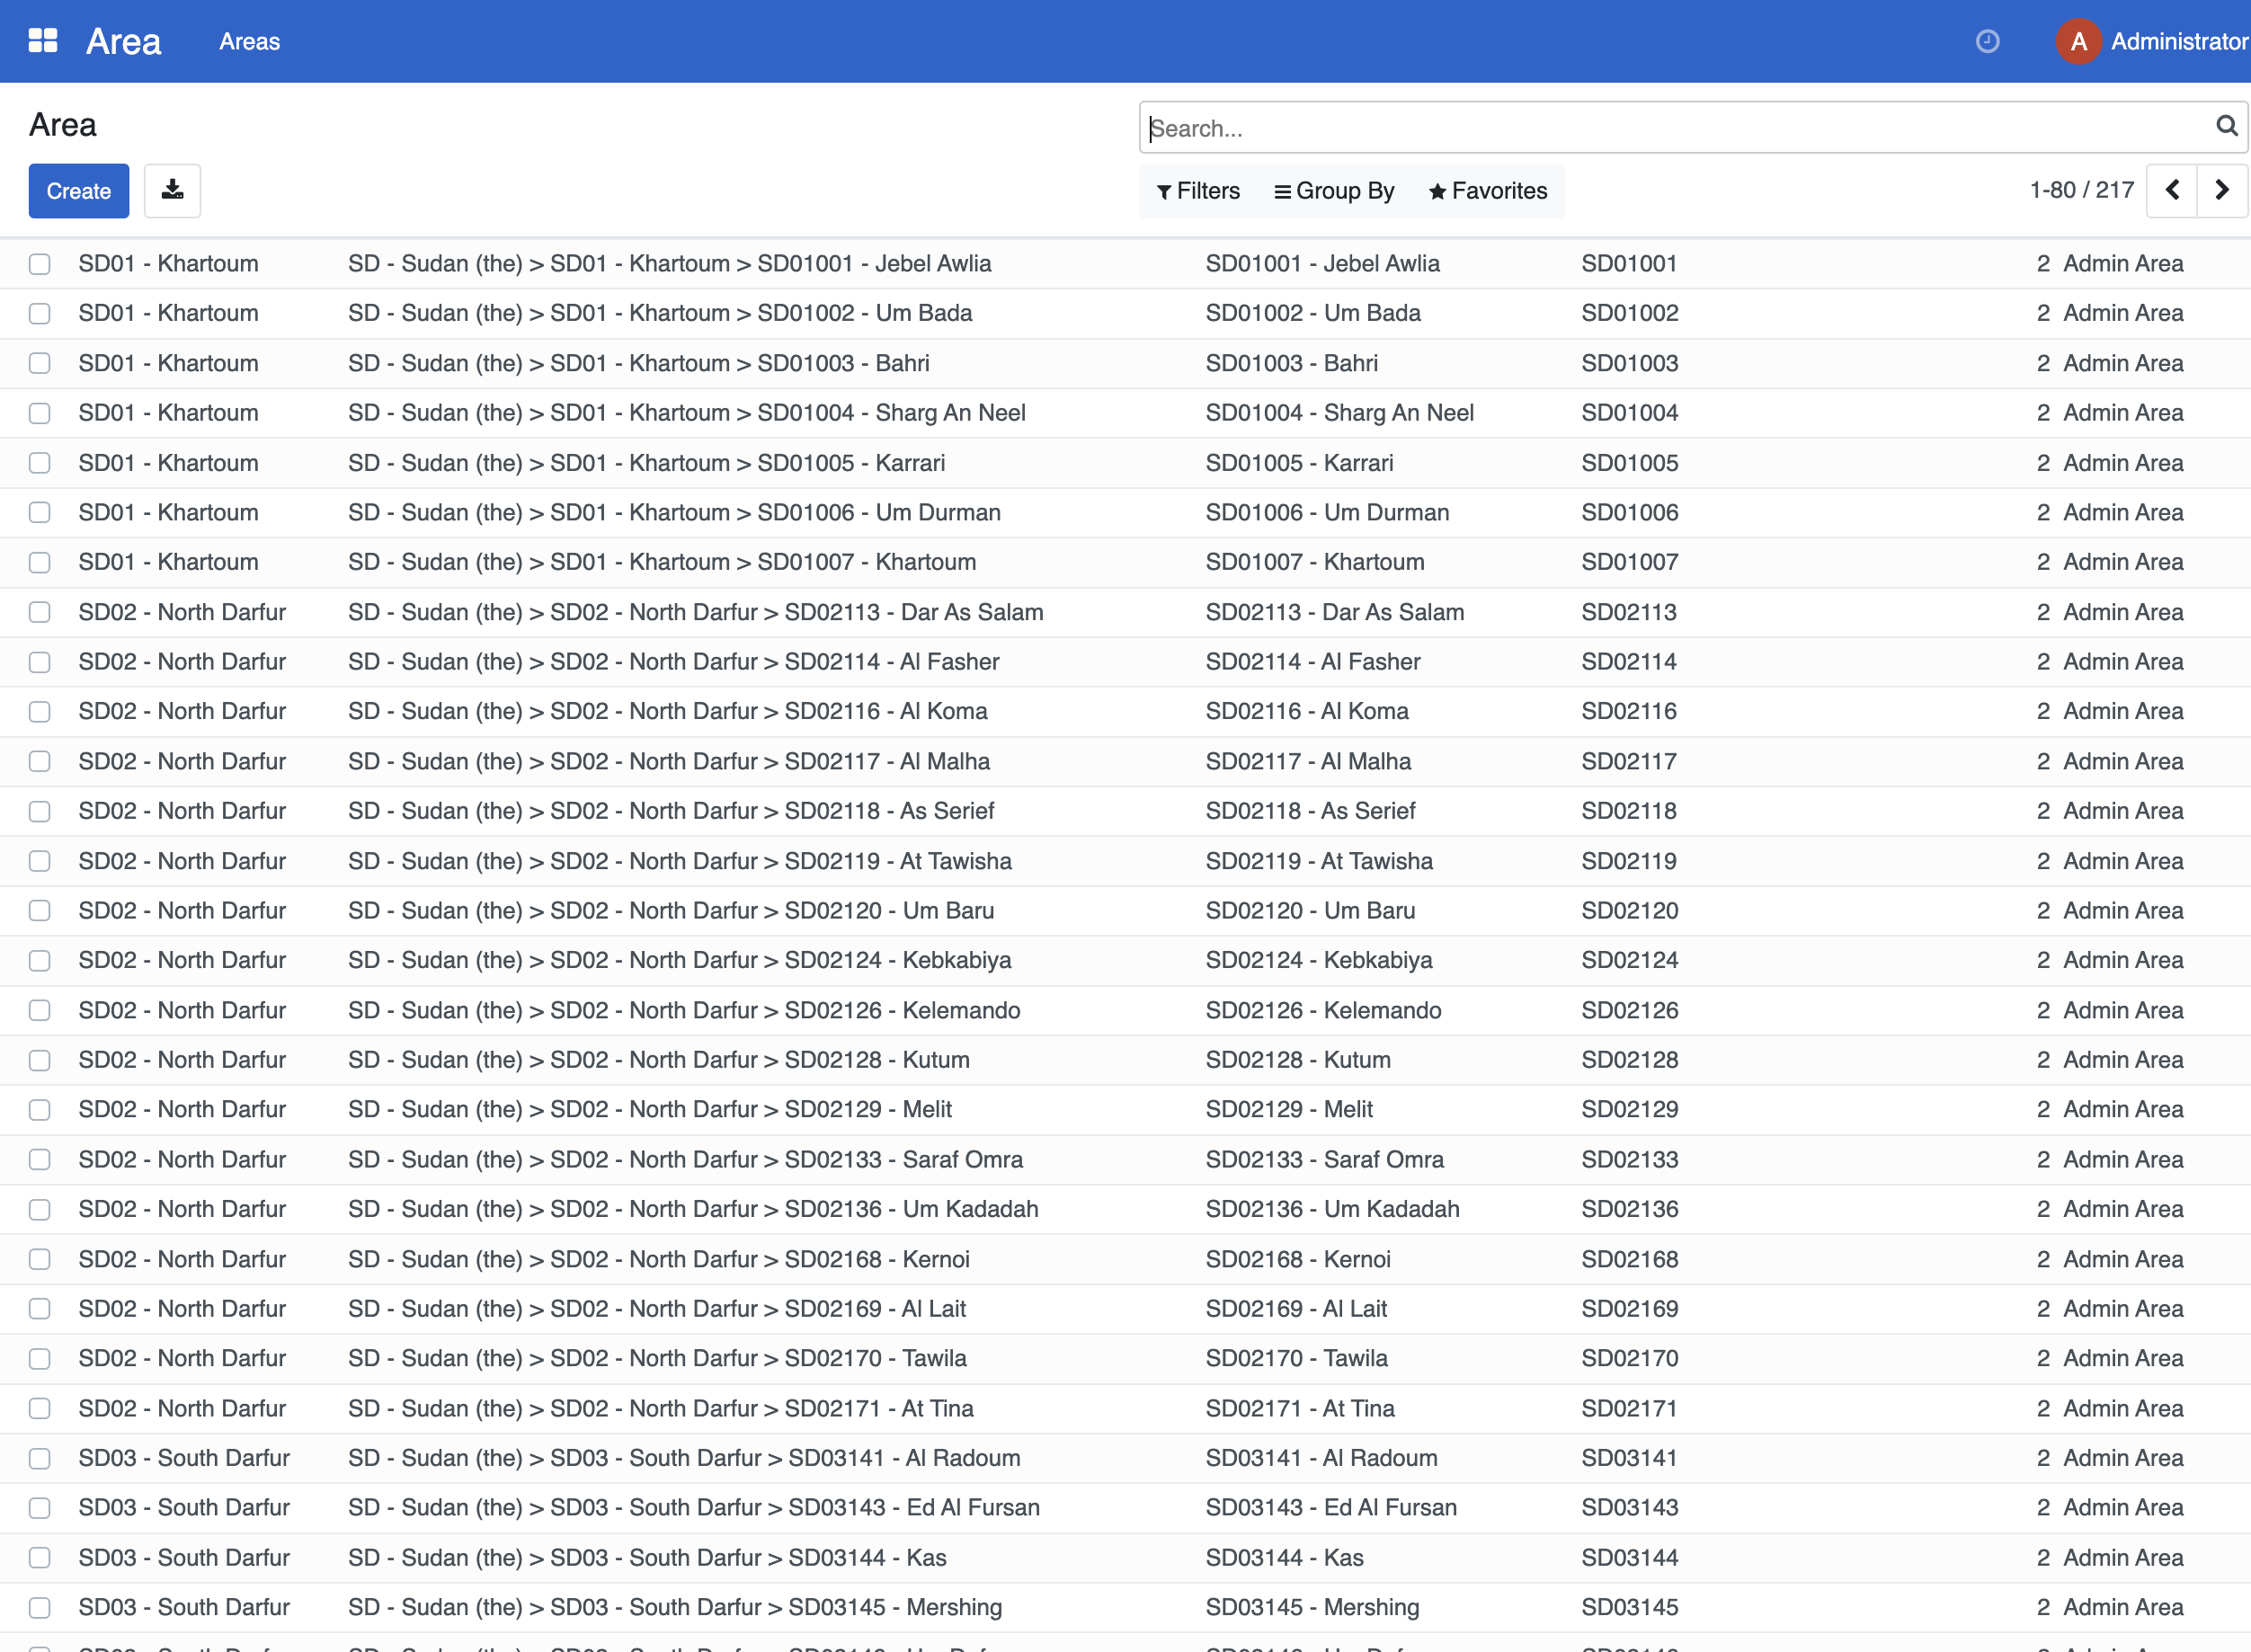
Navigate back to the Area → Areas menu. You will see the area you just imported.
Custom Area type#
By default area are imported as Admin Area. You can change the area type of an area by editing it and selecting the area type you want.
You can define your own during import, new area type are automatically created.
To import an area and specify the area type, you need to add a column in the excel file with the name admin1Kind (1 need to be replaced by the admin level) and the value of the area type you want to use.
You can also define your own area type from the interface. To do so, you need to define the area type in the Area → Areas → Area Kind menu.
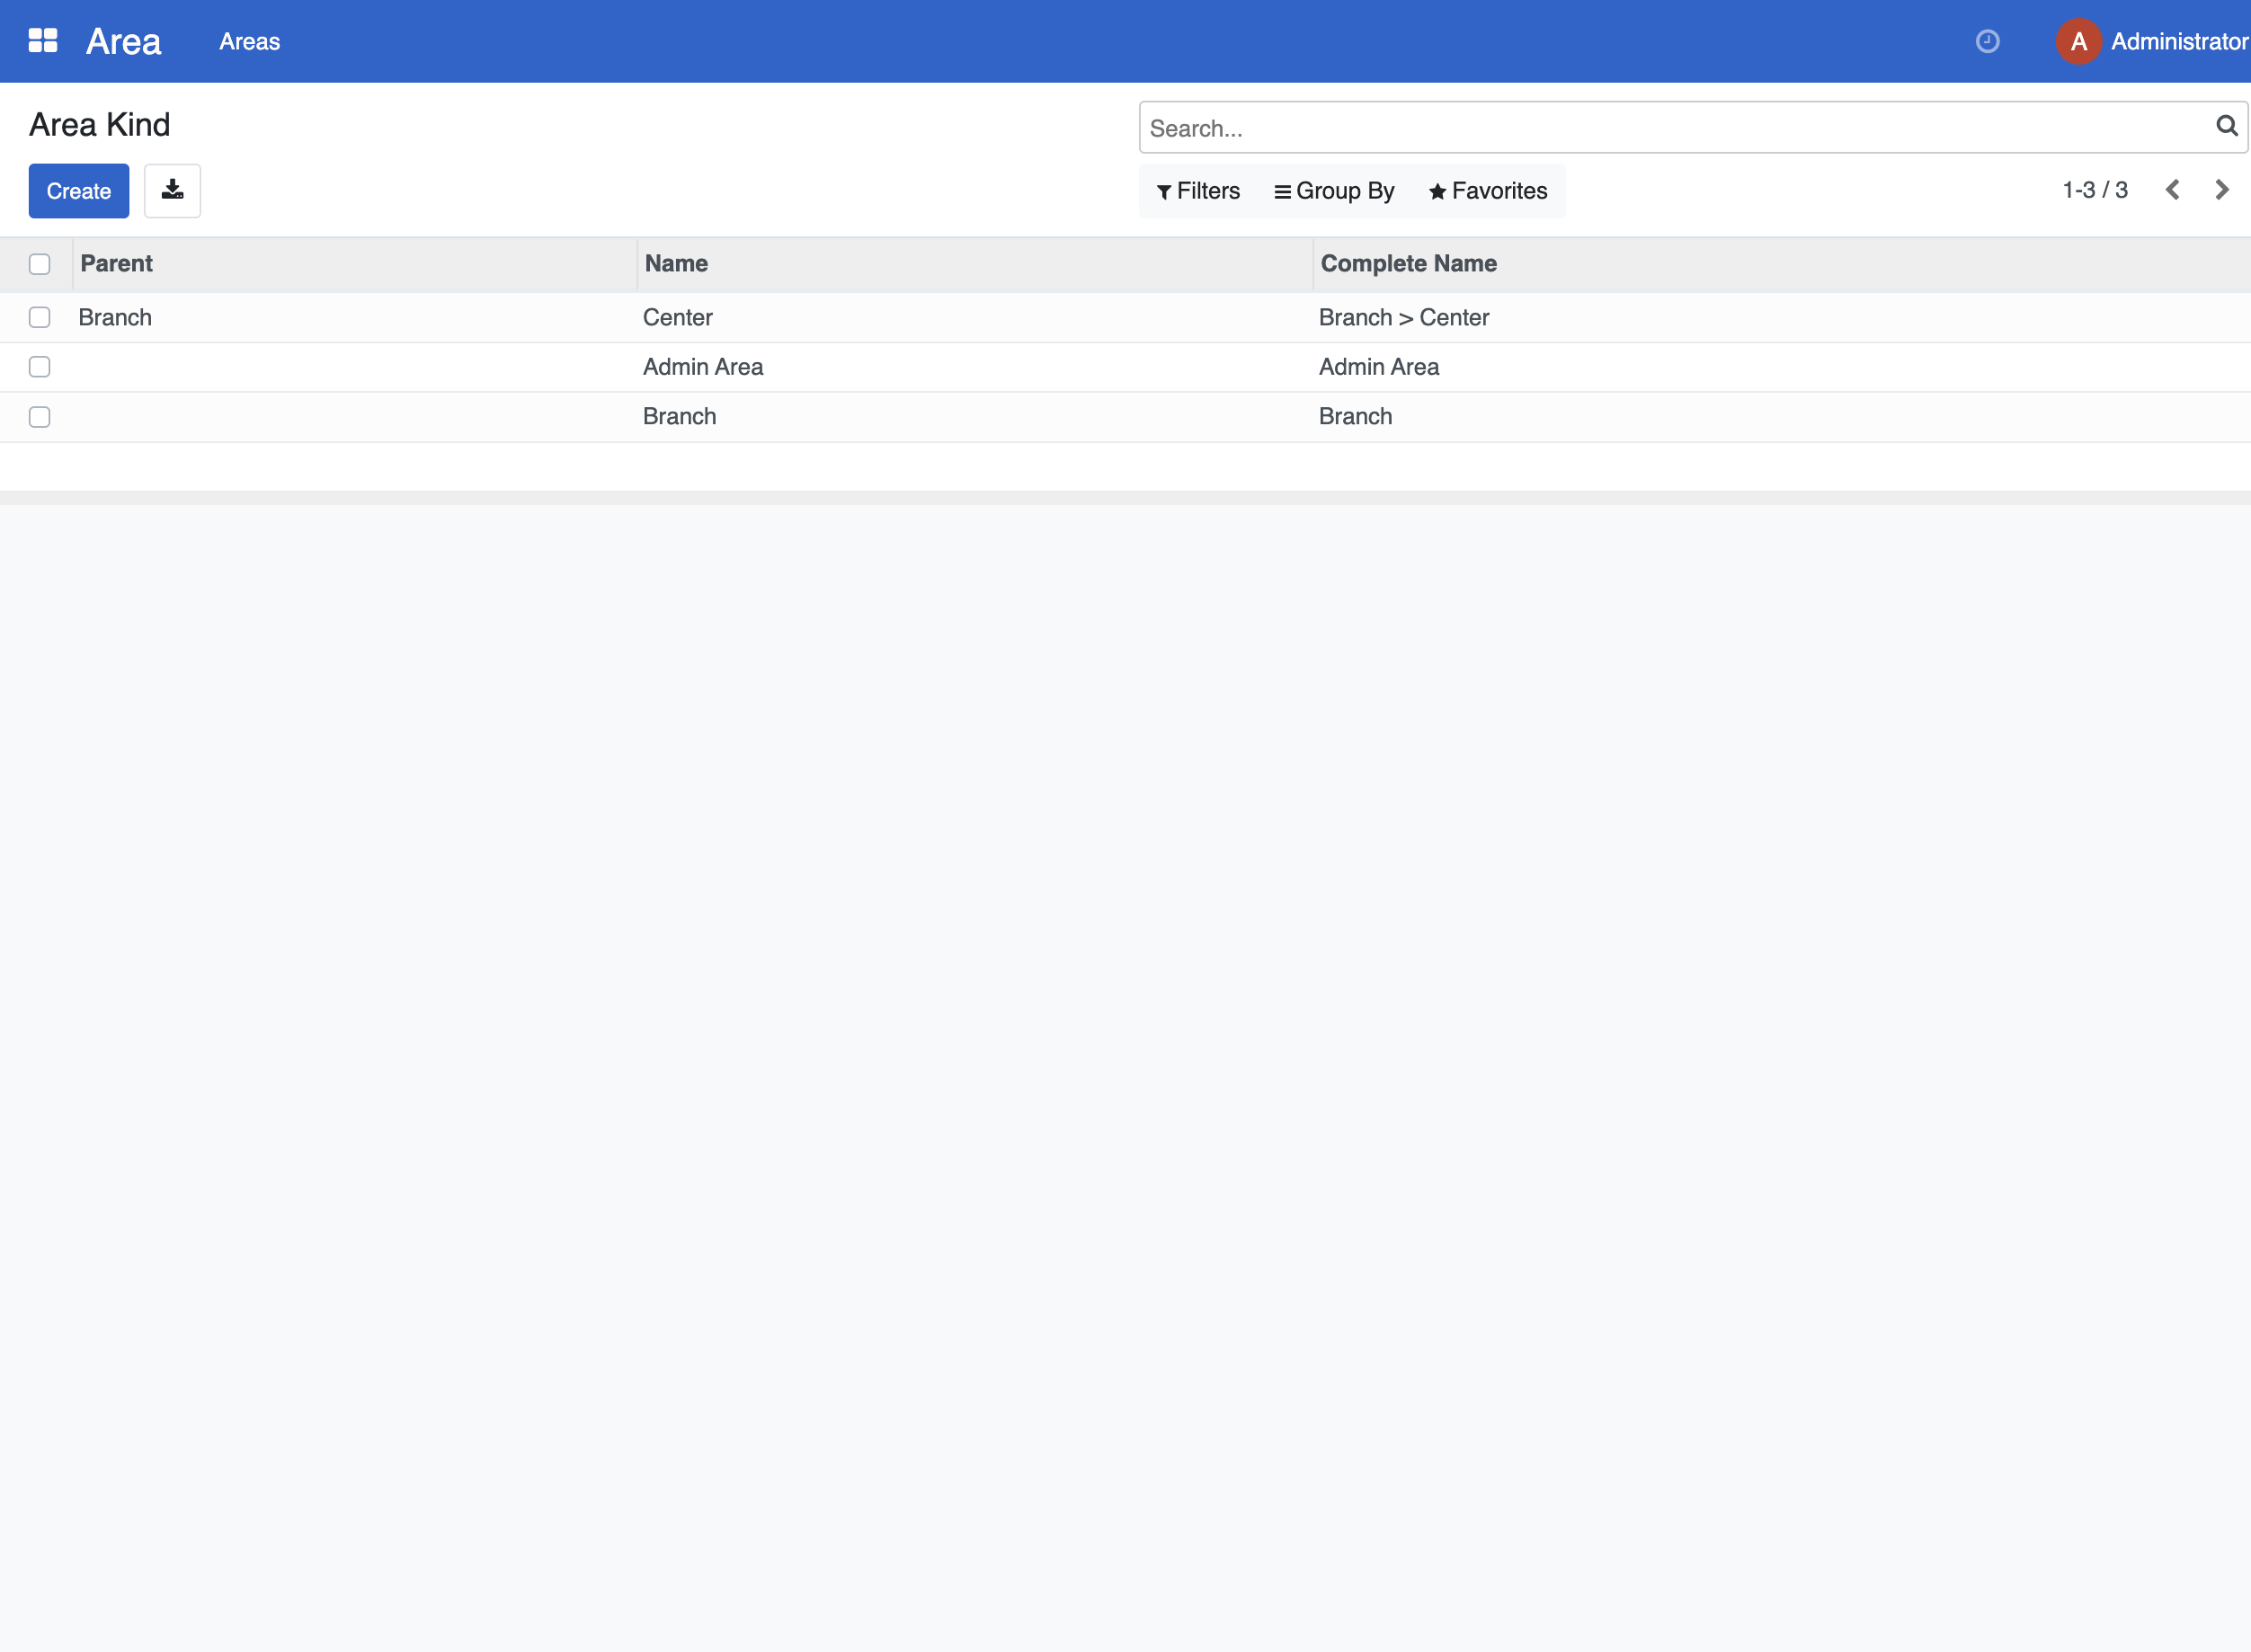
Click on Create to create a new area type.
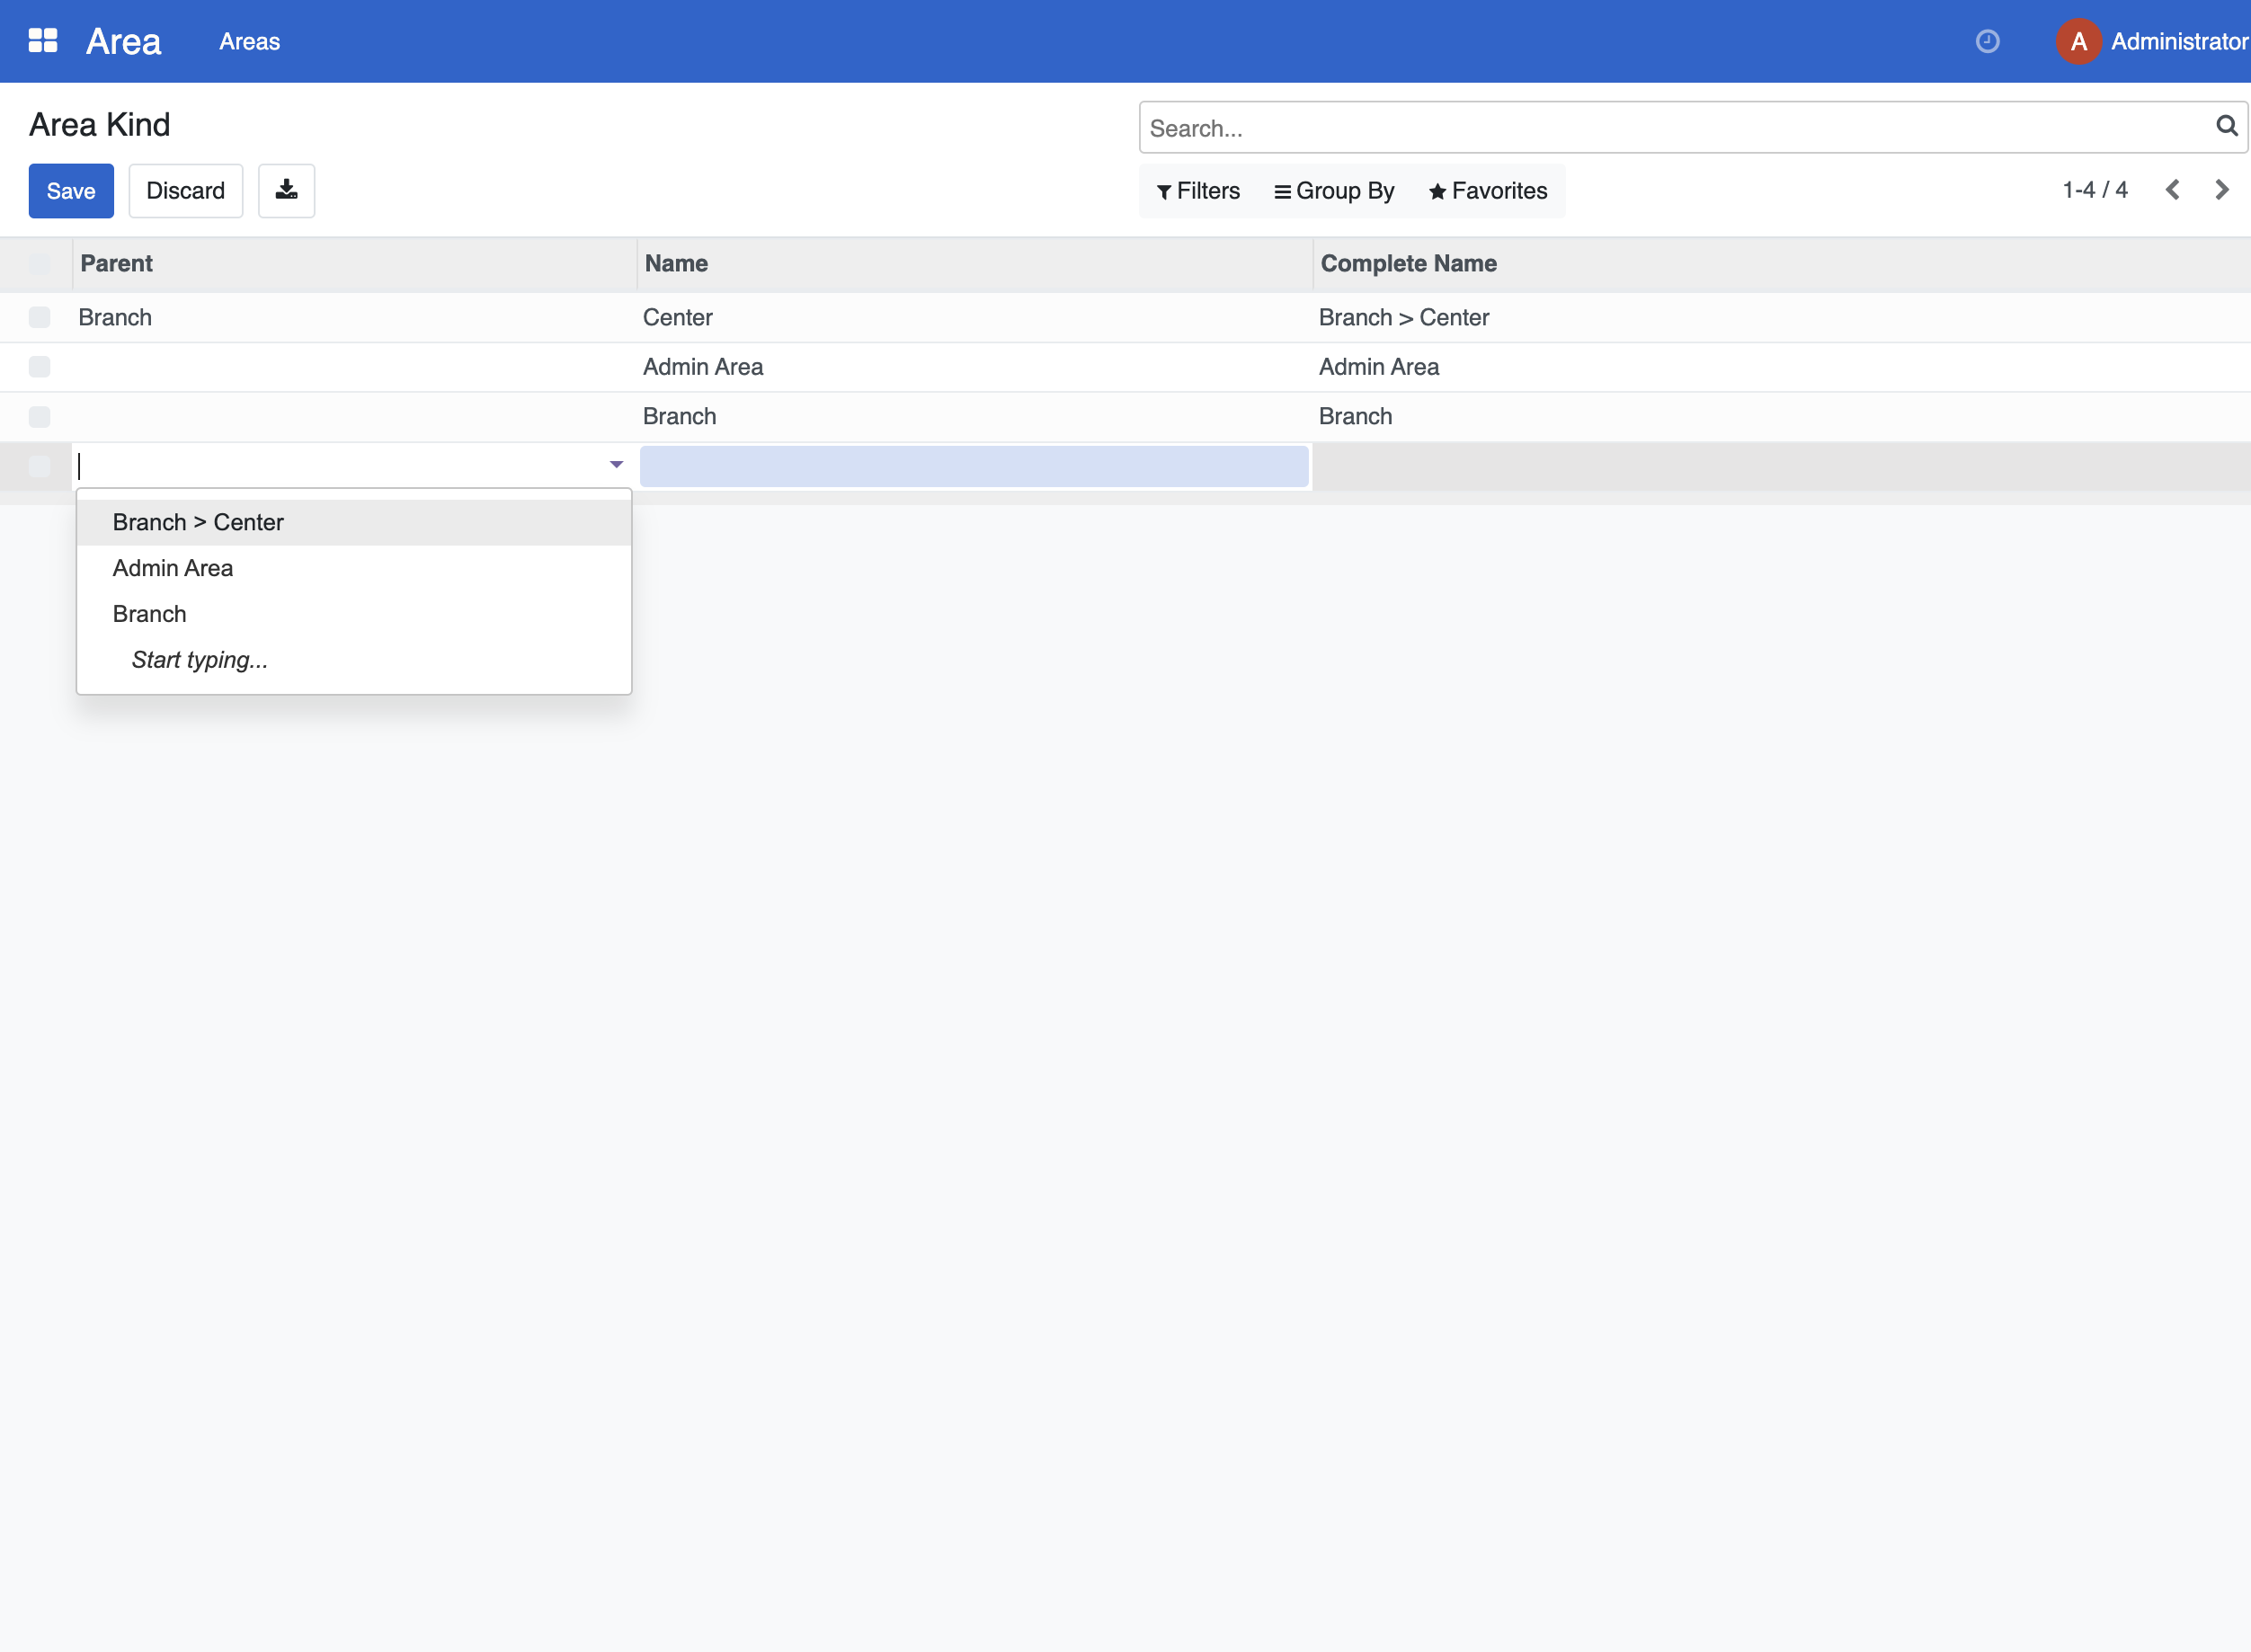
You can select a parent area type if you want to define a hierarchy between area types and set a name.
Click Save.
Geotargeting in program management#
See Programs and cycles for more information on how to create a program and a cycle and use geo-targeting.