Register new individual
Contents
Register new individual#
Introduction#
To integrate new individual information into the system and store it in the registry. A registrant becomes a beneficiary only after enrollment in a social protection program. The registration process is a critical component in the efficient administration of social protection, utilizing the recorded information to identify individuals, evaluate their needs, confirm their eligibility for social protection programs and other social services, and accurately determine benefit amounts. Initiatives for mass registration may occur at the start of a new program or during the creation of a new registry. Furthermore, new applicants can be added to existing programs or registries continuously.
Prerequisites#
To register a new individual in OpenSPP, you need to gather all required information for the new individual and understand the standard operating procedures for your specific program.
Objective#
After following this guide, users will be able to register a new individual in OpenSPP.
Step-by-step#
When registering a new individual, the following steps need to be taken:
Registering the new individual: in this step, all personal information about the individual will be added to the system.
Creating a new group: if the individual should be added to a group, this needs to be created if it does not exist yet.
Adding the individual to a group: if the individual should be added to a group, this is done as the final step.
Registering new individual#
Log in to OpenSPP, then click on the four-square icon, click Settings, and select Registry.

Select Individuals from the toolbar.

Click Create.
You will be directed to the Individual information page.
Enter the necessary values for the individual as required by your programme.
Verify the entered information and click Save to complete the registration.

Navigate to Registry and select Individuals from the toolbar. The new individual record is now available in table view.

Creating new group#
Navigate to Registry and select Groups from the toolbar. Click on Create.

You will be directed to the Group information page.
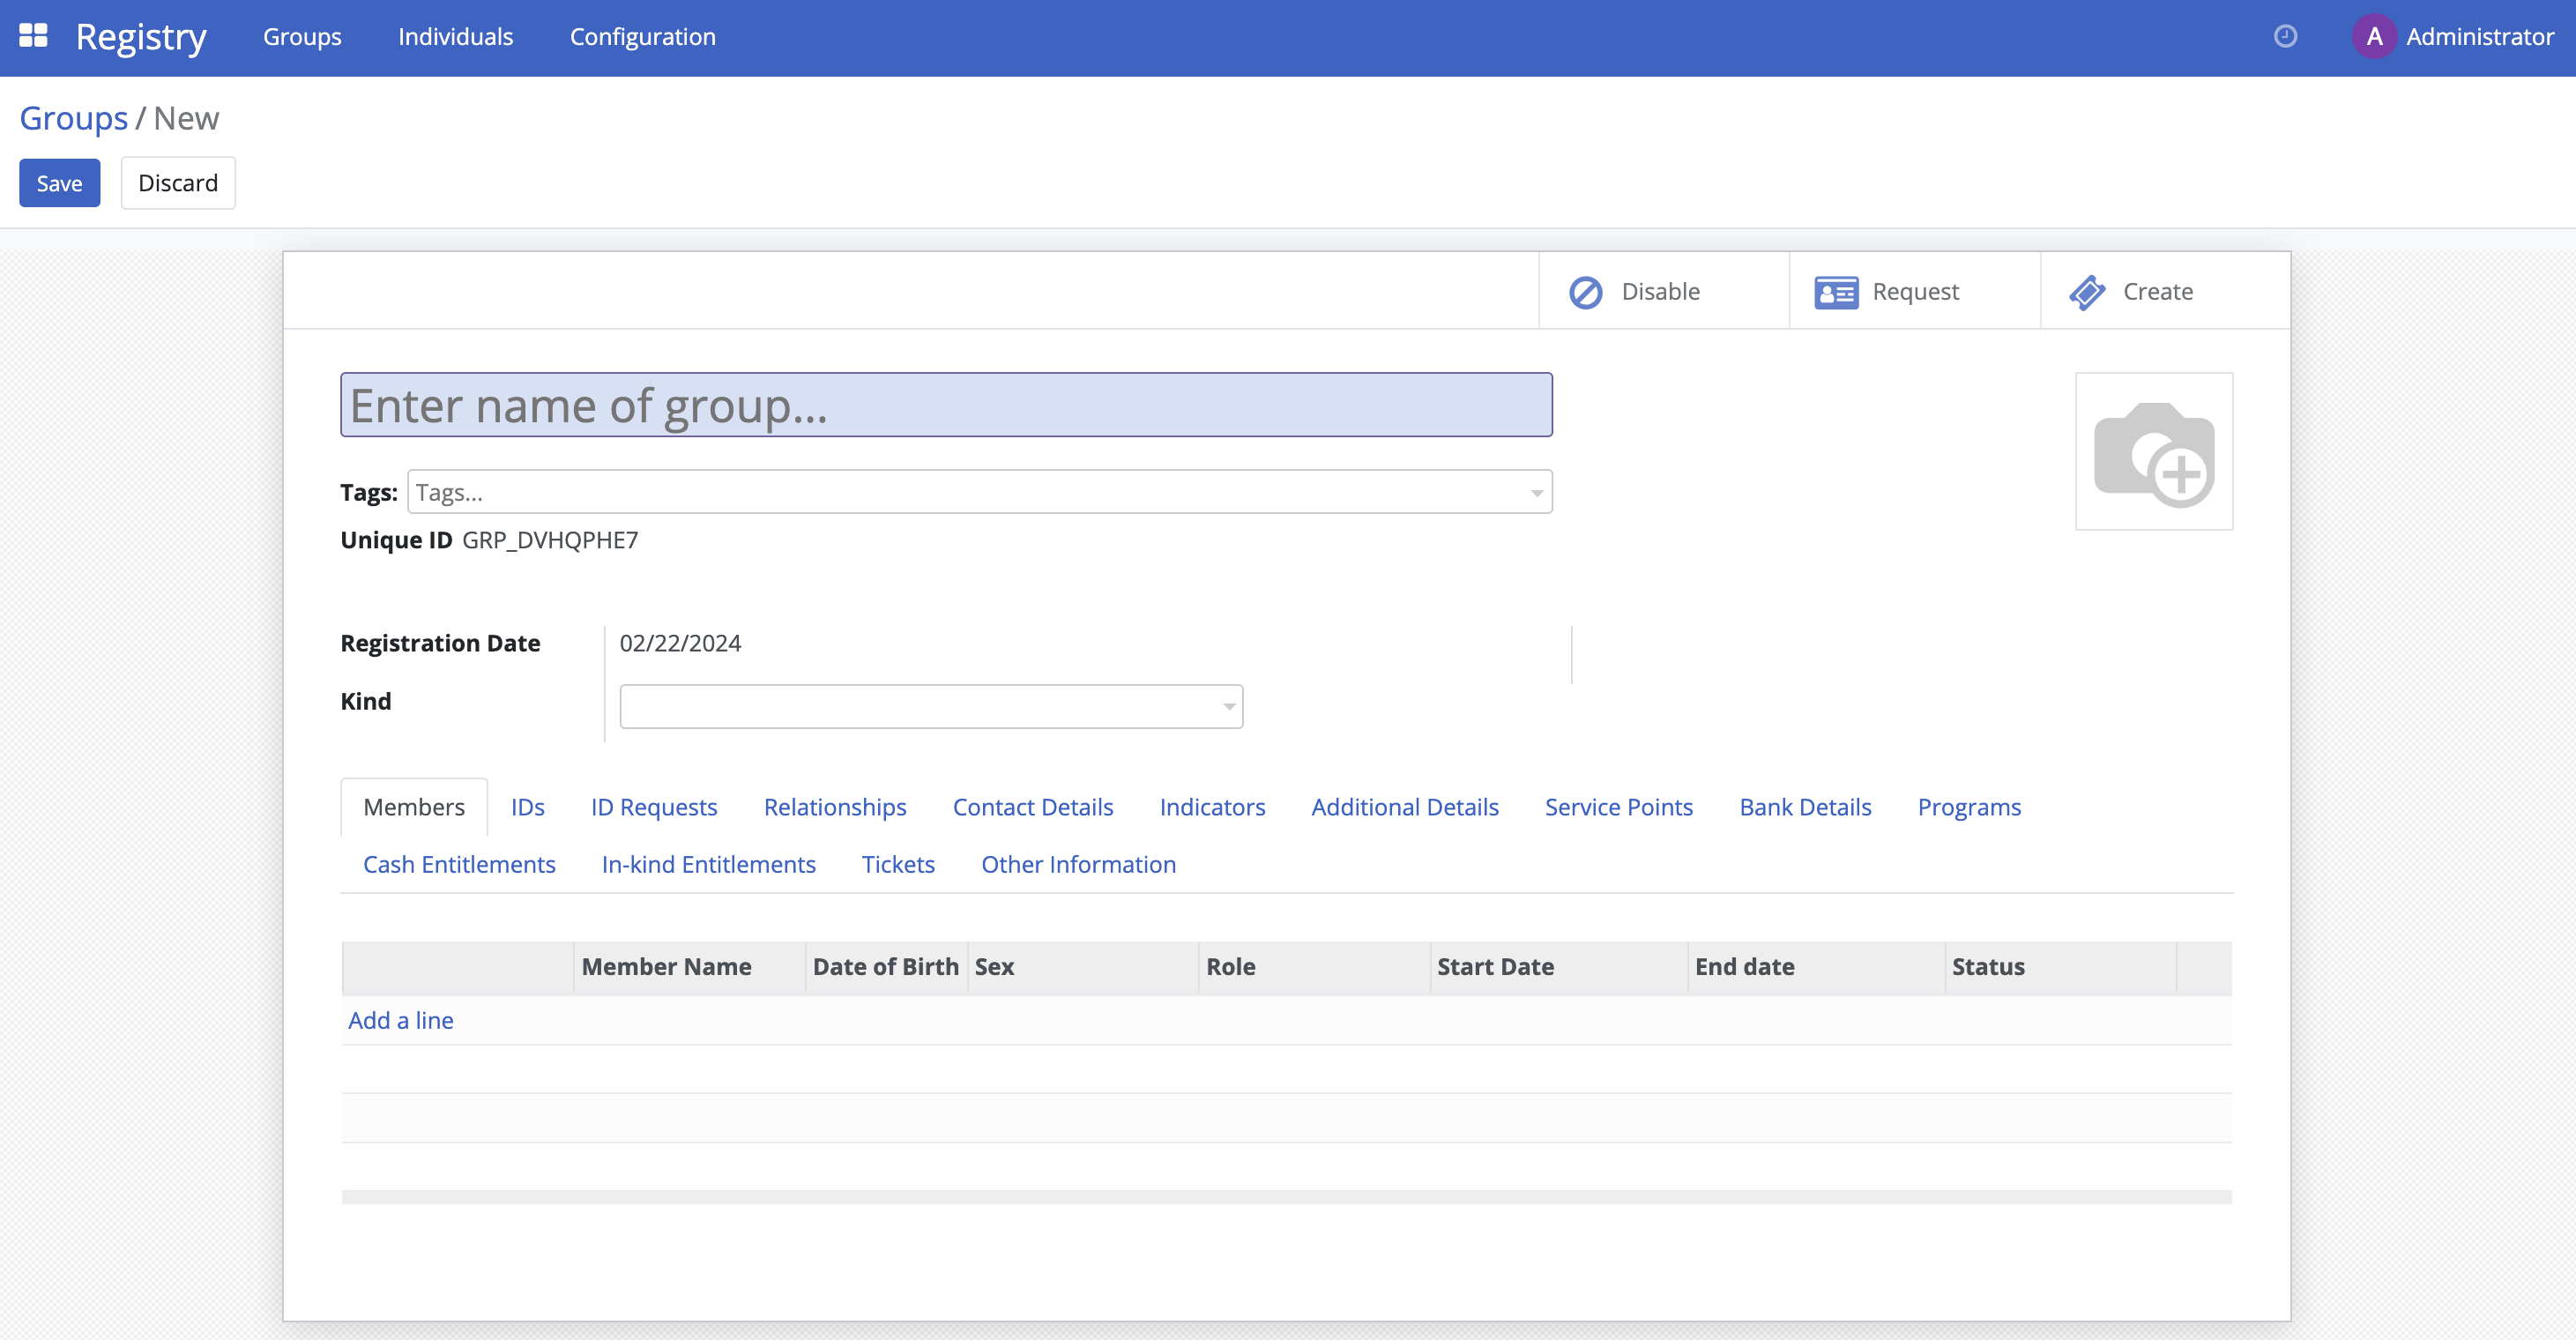
Enter the necessary values for the group as required by your programme. Choose the Kind of group you are targeting from the drop-down list.
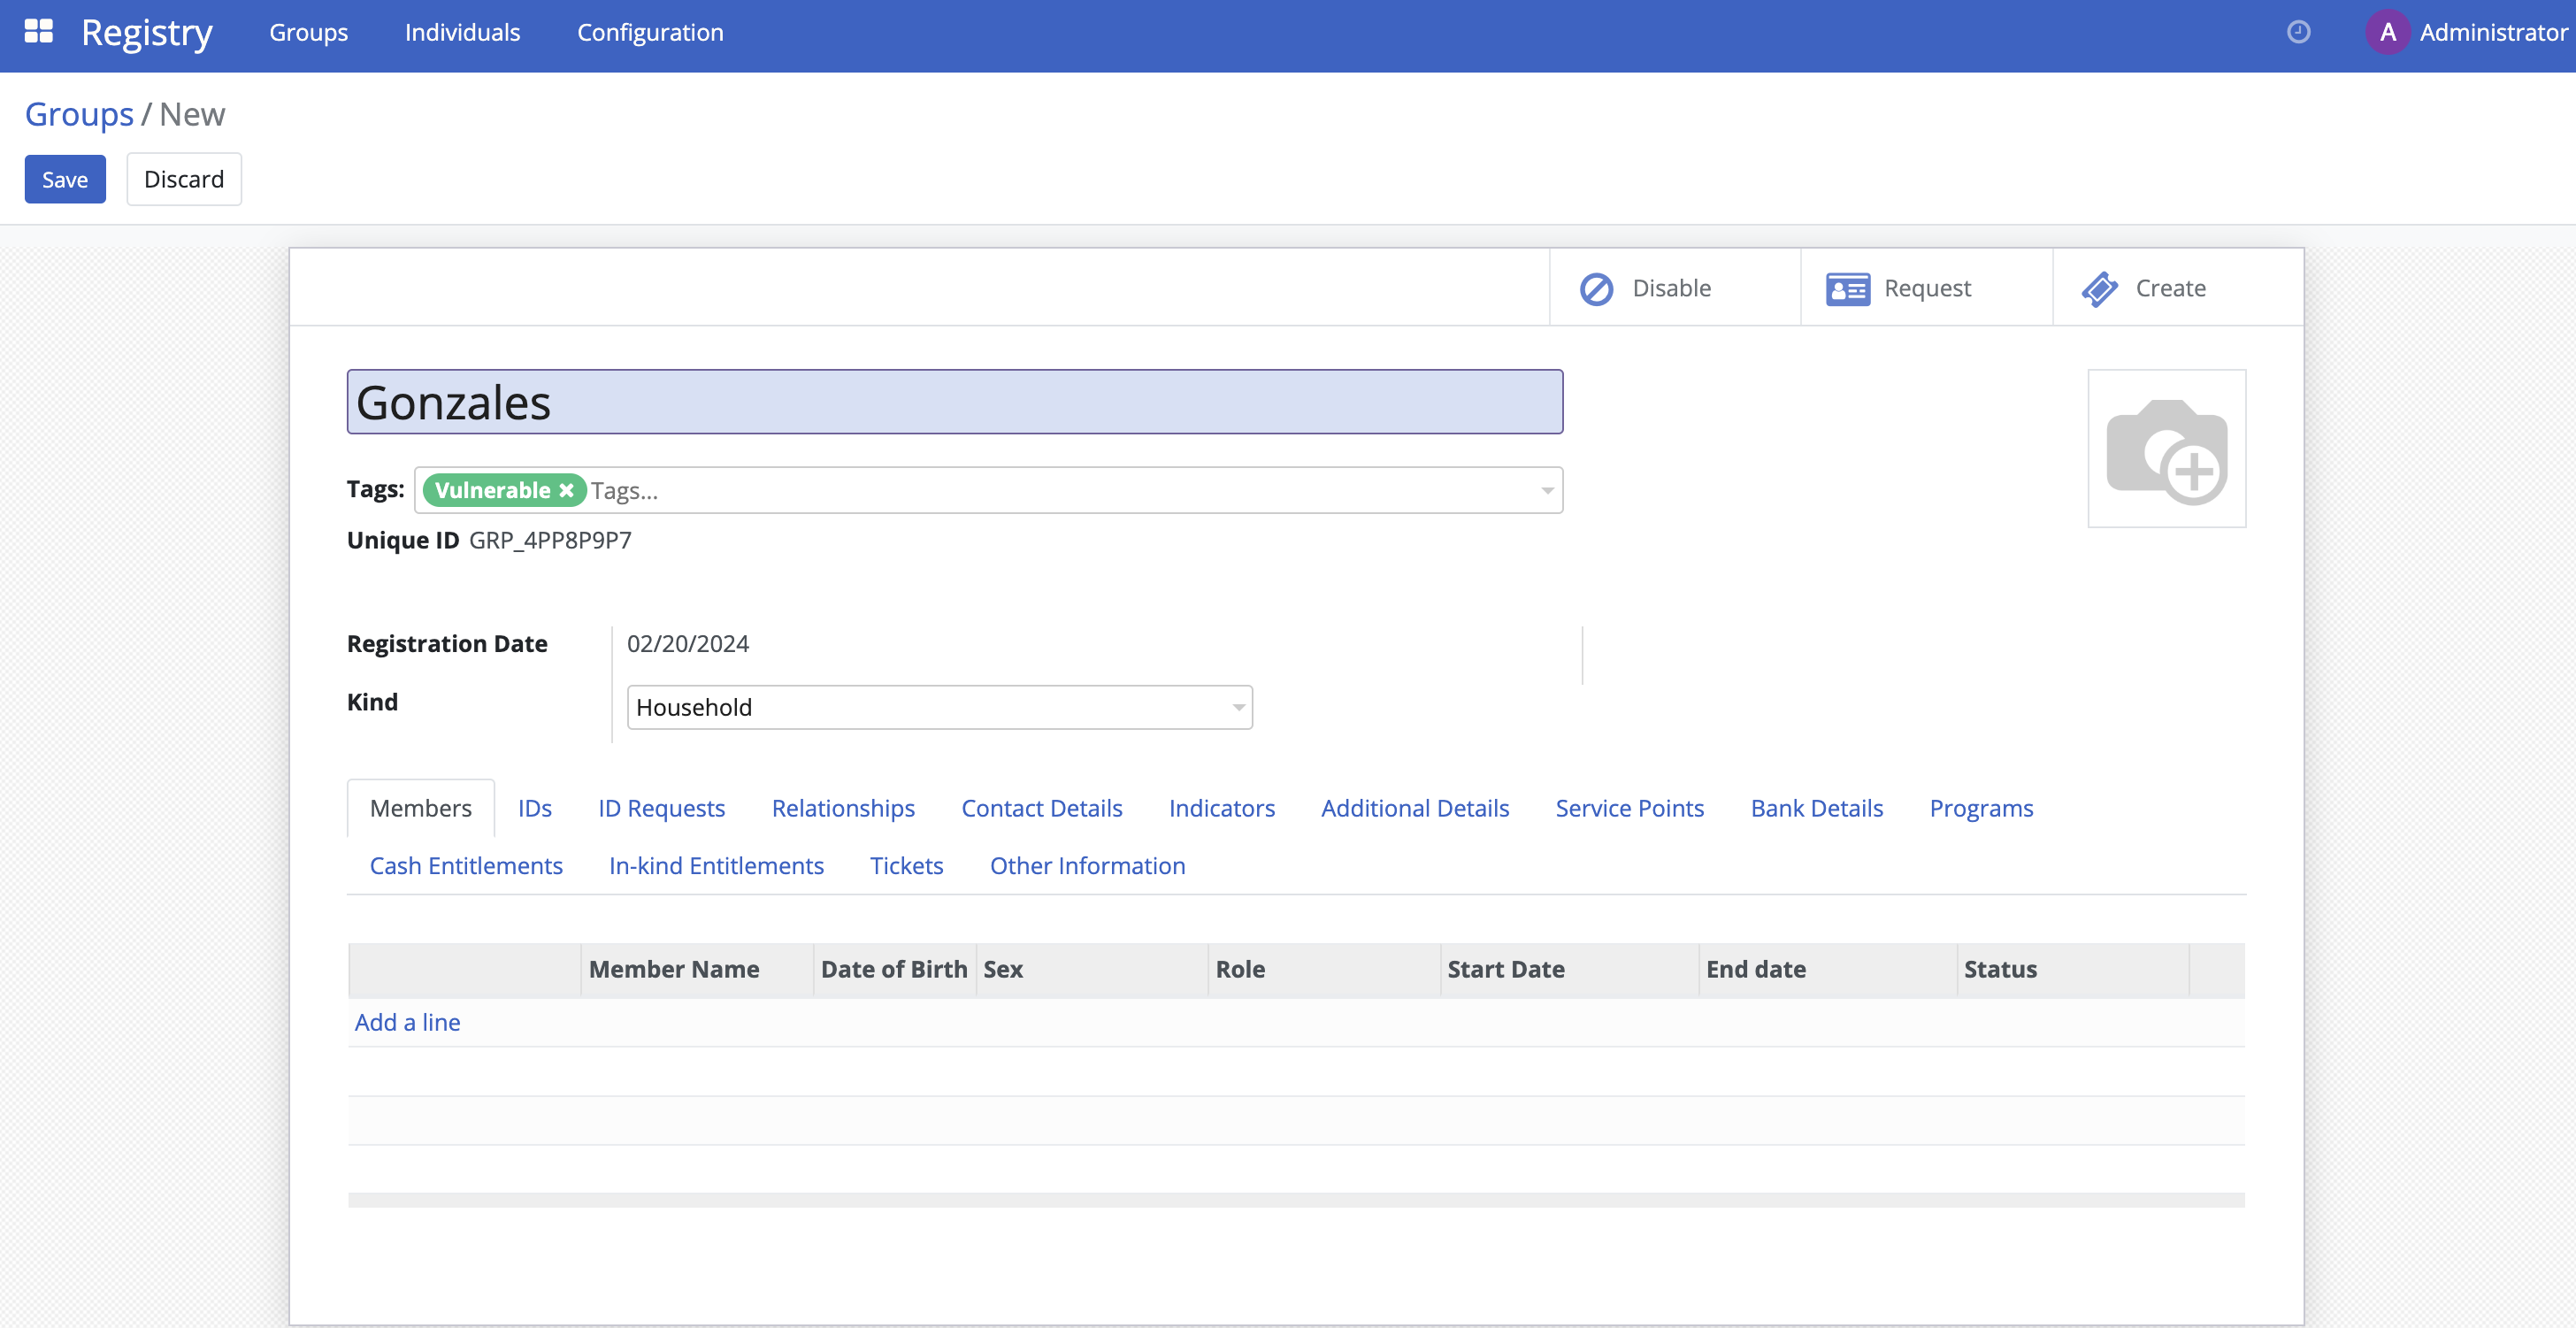
After ensuring all the information you entered is correct, click the Save button to complete the registration process. Once completed, the personal information page of the Groups record will appear as shown below.
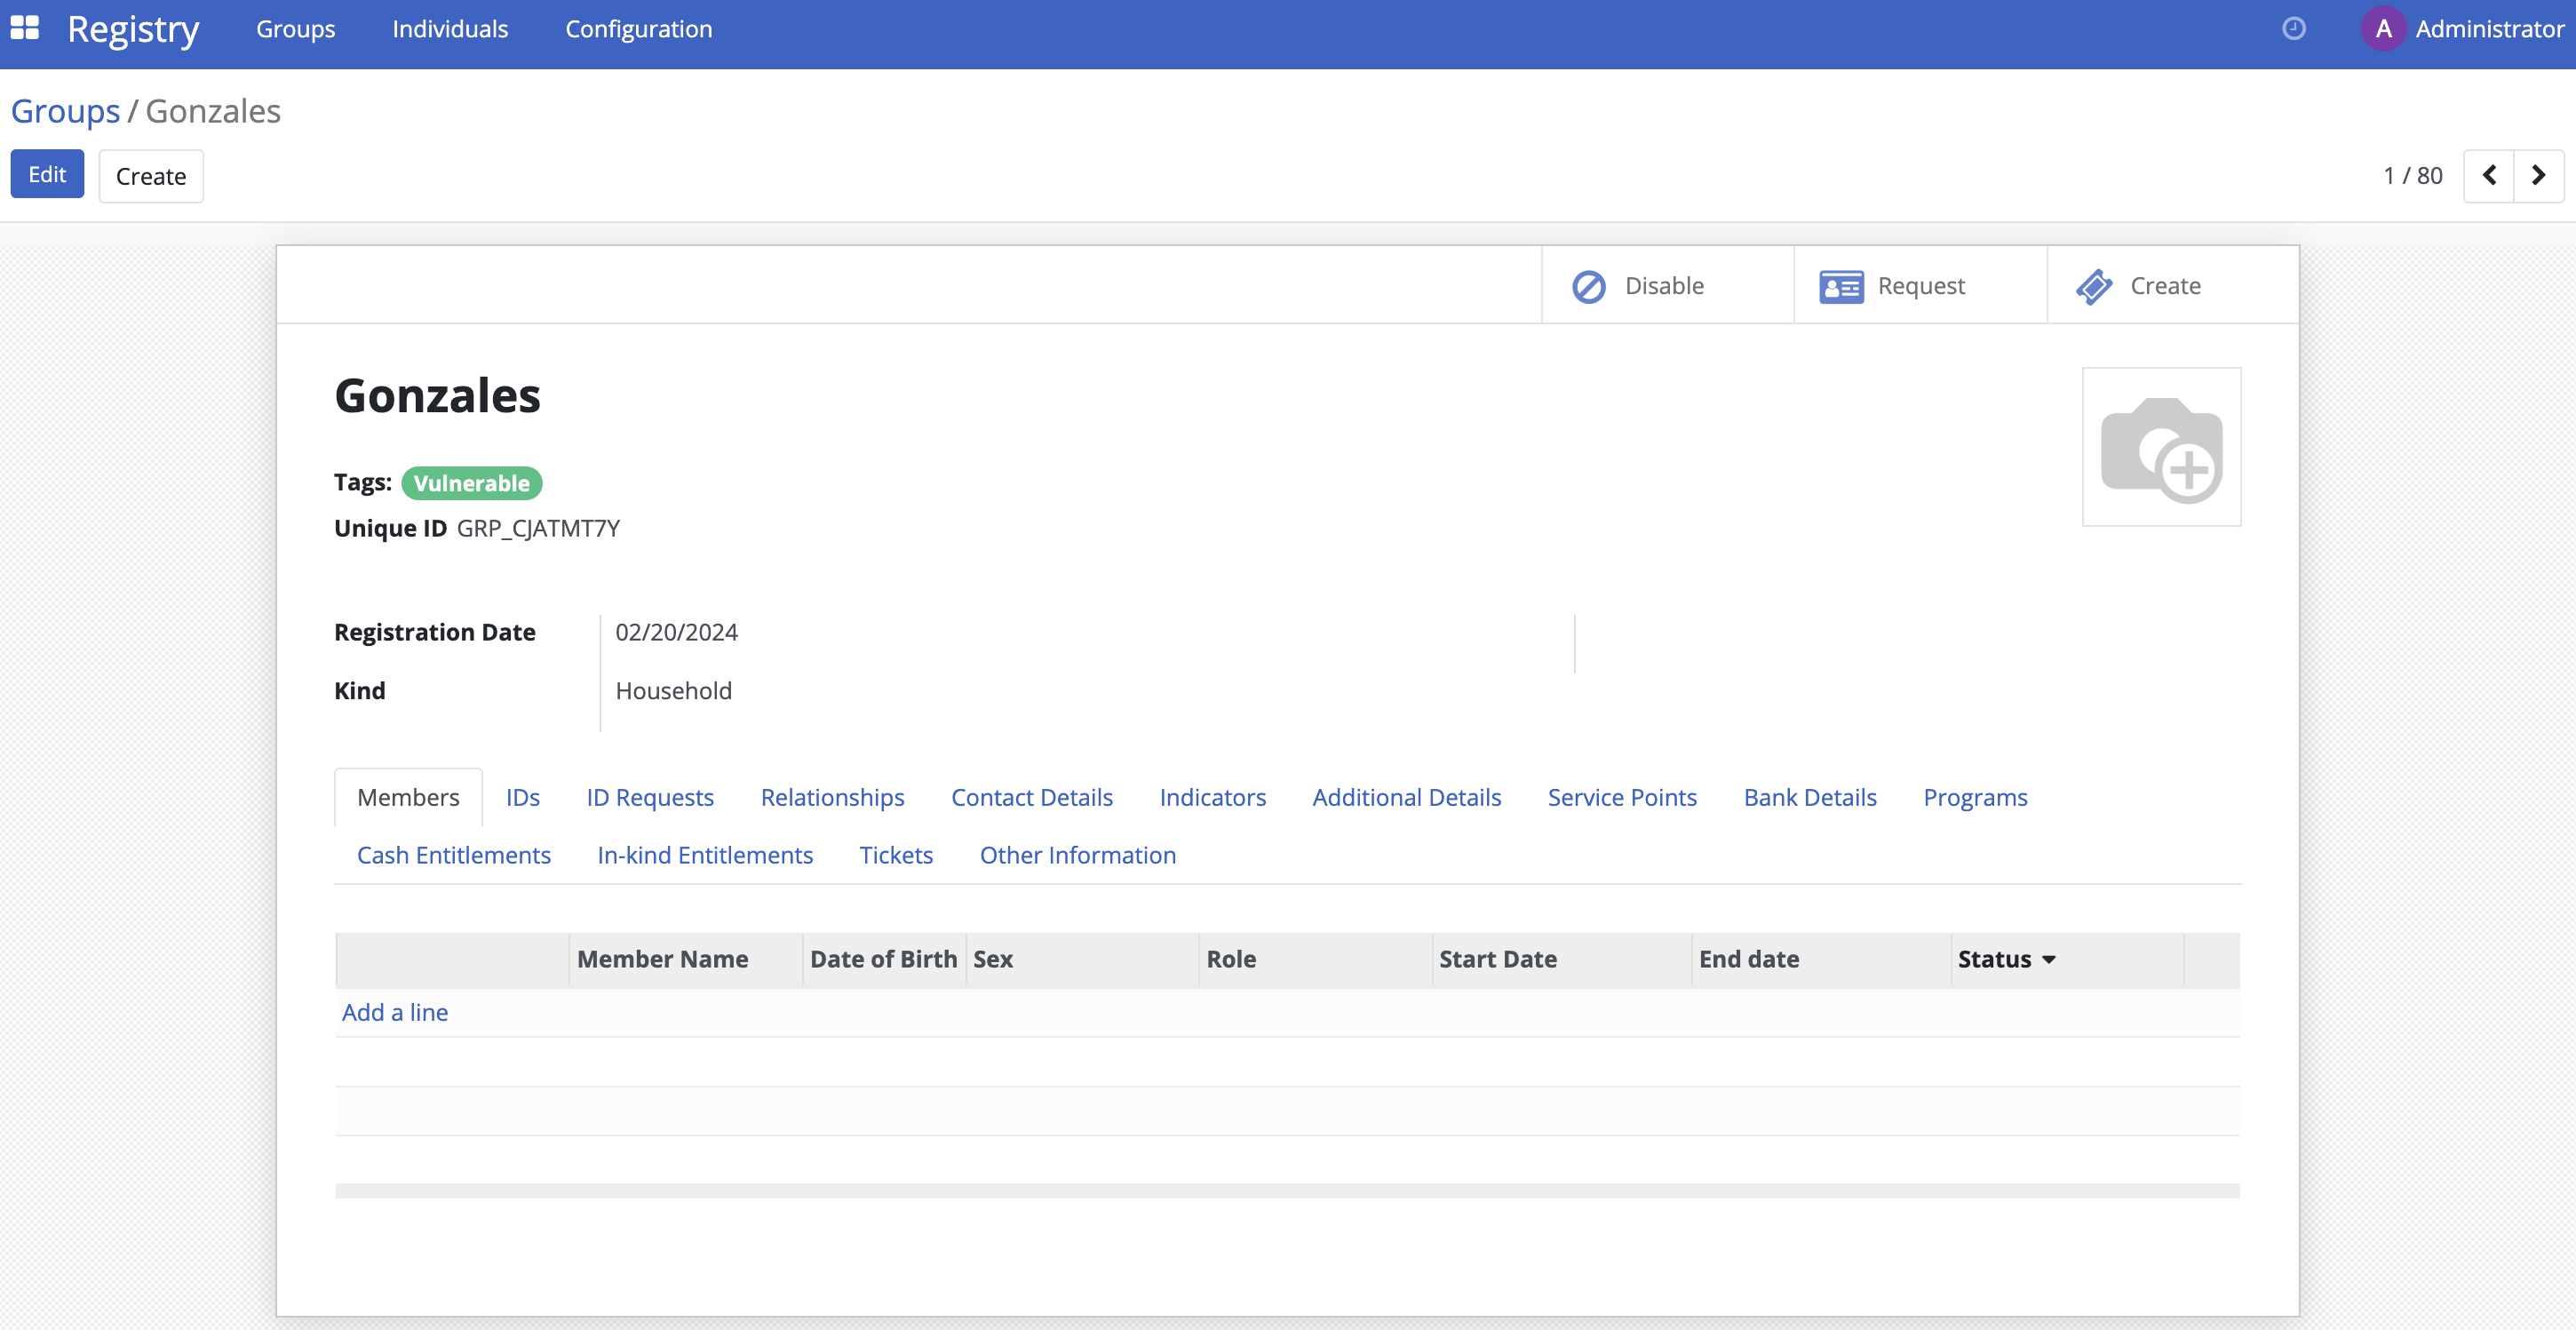
Navigate to Registry and select Groups from the toolbar. The new group record is now available in table view.

Adding new individual to group#
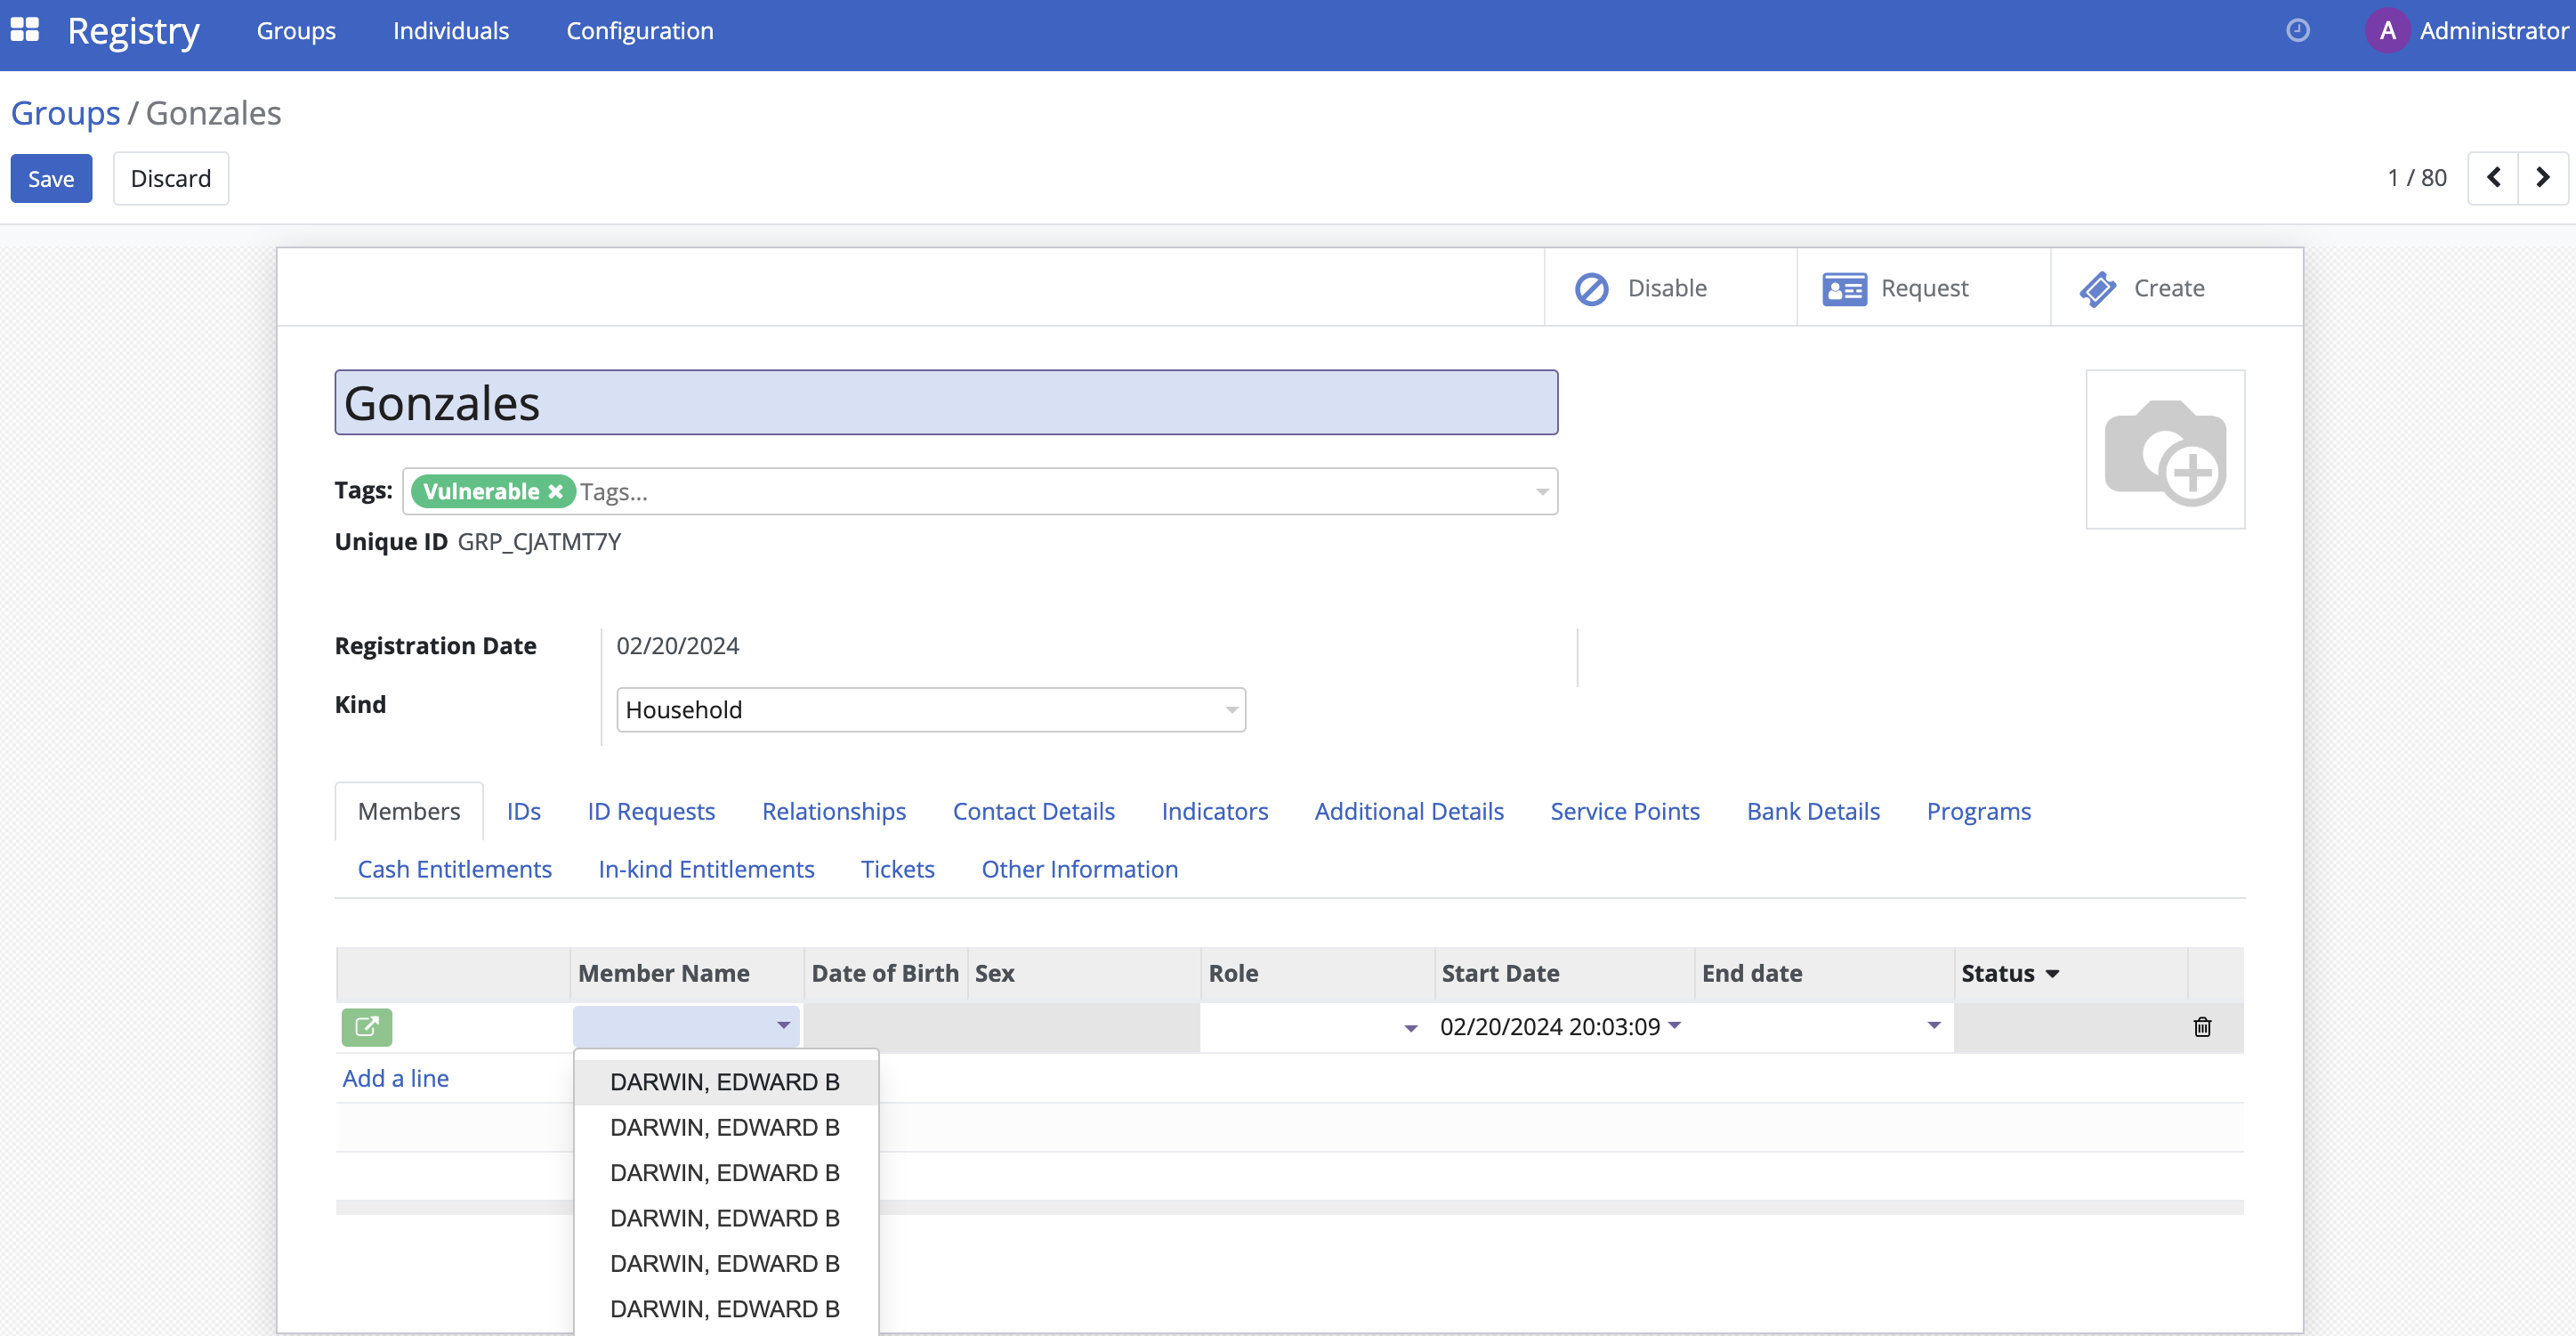
Click on the group you created in the table view. Click on Add a line to add the individual(s) to the group. You can select the individual you wish to add from the drop-down list or by clicking on Search More. When finished, click Save.
After you click Save, the added individual(s) is displayed in the list.
